Feeds:
Posts
Comments

Archive for the ‘Recipes’ Category

Screen Shot 2015-09-26 at 10.41.04 AM

A few weeks ago, my dad telephoned from America to ask if I had a favourite scone recipe I could share.

You see, where he lives, a scone is a plate-size, golden-fried roll served with honey-butter, syrup, or powdered sugar.

Tis true.

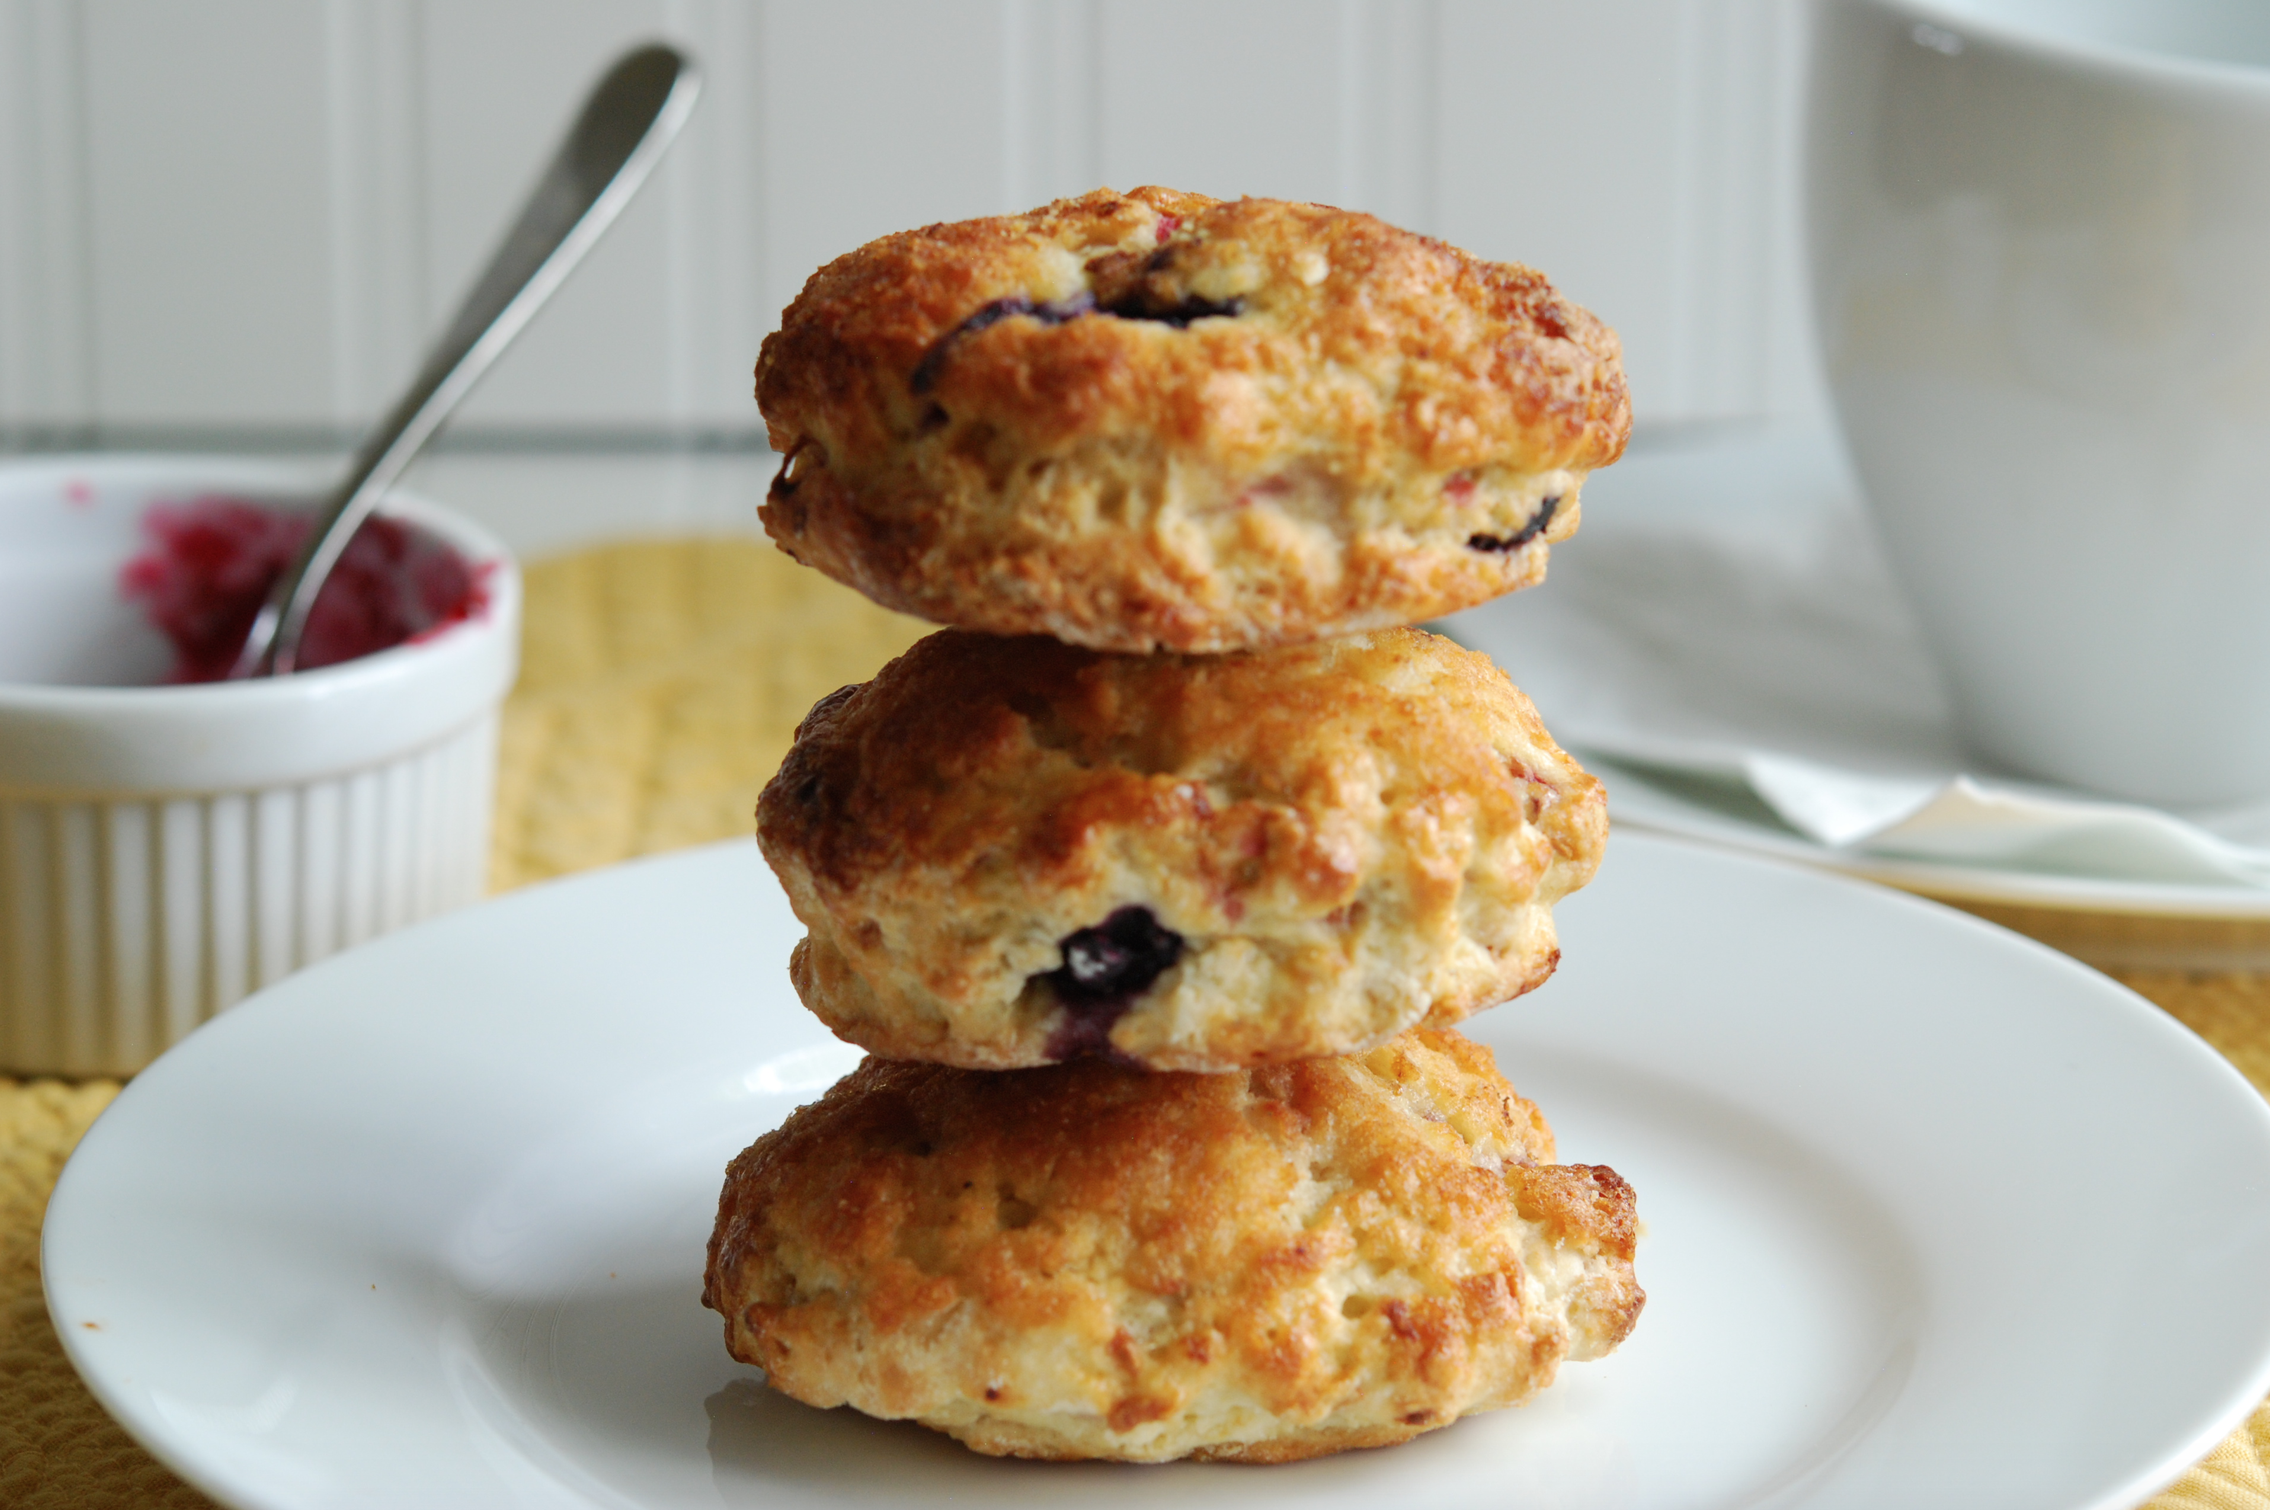
In his neck of the woods, a scone is like a beignet..a sopapilla…a doughnut even. In Ireland they’re nothing of the sort. An Irish scone is a light, moist, baked pastry that falls somewhere between a cake and a well-made muffin.

Screen Shot 2015-09-26 at 10.33.00 AM

The differences don’t stop there, however. Irish scones have far less butter and sugar in them. Though, with the salty Irish butter and the sweet raspberry jam we load them up with, this may be a moot point! Also, Irish scones rarely have fancy add-ins: Craisins, chocolate chips, crystallised ginger, for example, just don’t make the cut here. Currants or raisins are about as “crazy” as scones get in Ireland…and even then some people feel those muck up a perfectly plain scone. And finally, Irish scones are never fried or shaped into fussy triangles. What is it about triangle-shaped scones my fellow countrymen/countrywomen like?!

Screen Shot 2015-09-26 at 10.06.58 AM

But don’t start thinking there is only one way to make scones in Ireland! There are many, many different ways to make them. For example, in a basic Irish Master Recipe, some bakers will use vegetable oil, others prefer lard, but most use butter. When using butter, there is a debate as to which is better: chilled or room temperature. Milk is nearly always used in making scones, but there are people who swear buttermilk is the only way to go, and there are others still who use cream. And where flour is concerned there are at least three options to choose: self-raising flour (self-rising if you are Stateside); cream flour (All Purpose); and cake flour.

Screen Shot 2015-09-26 at 10.52.06 AM

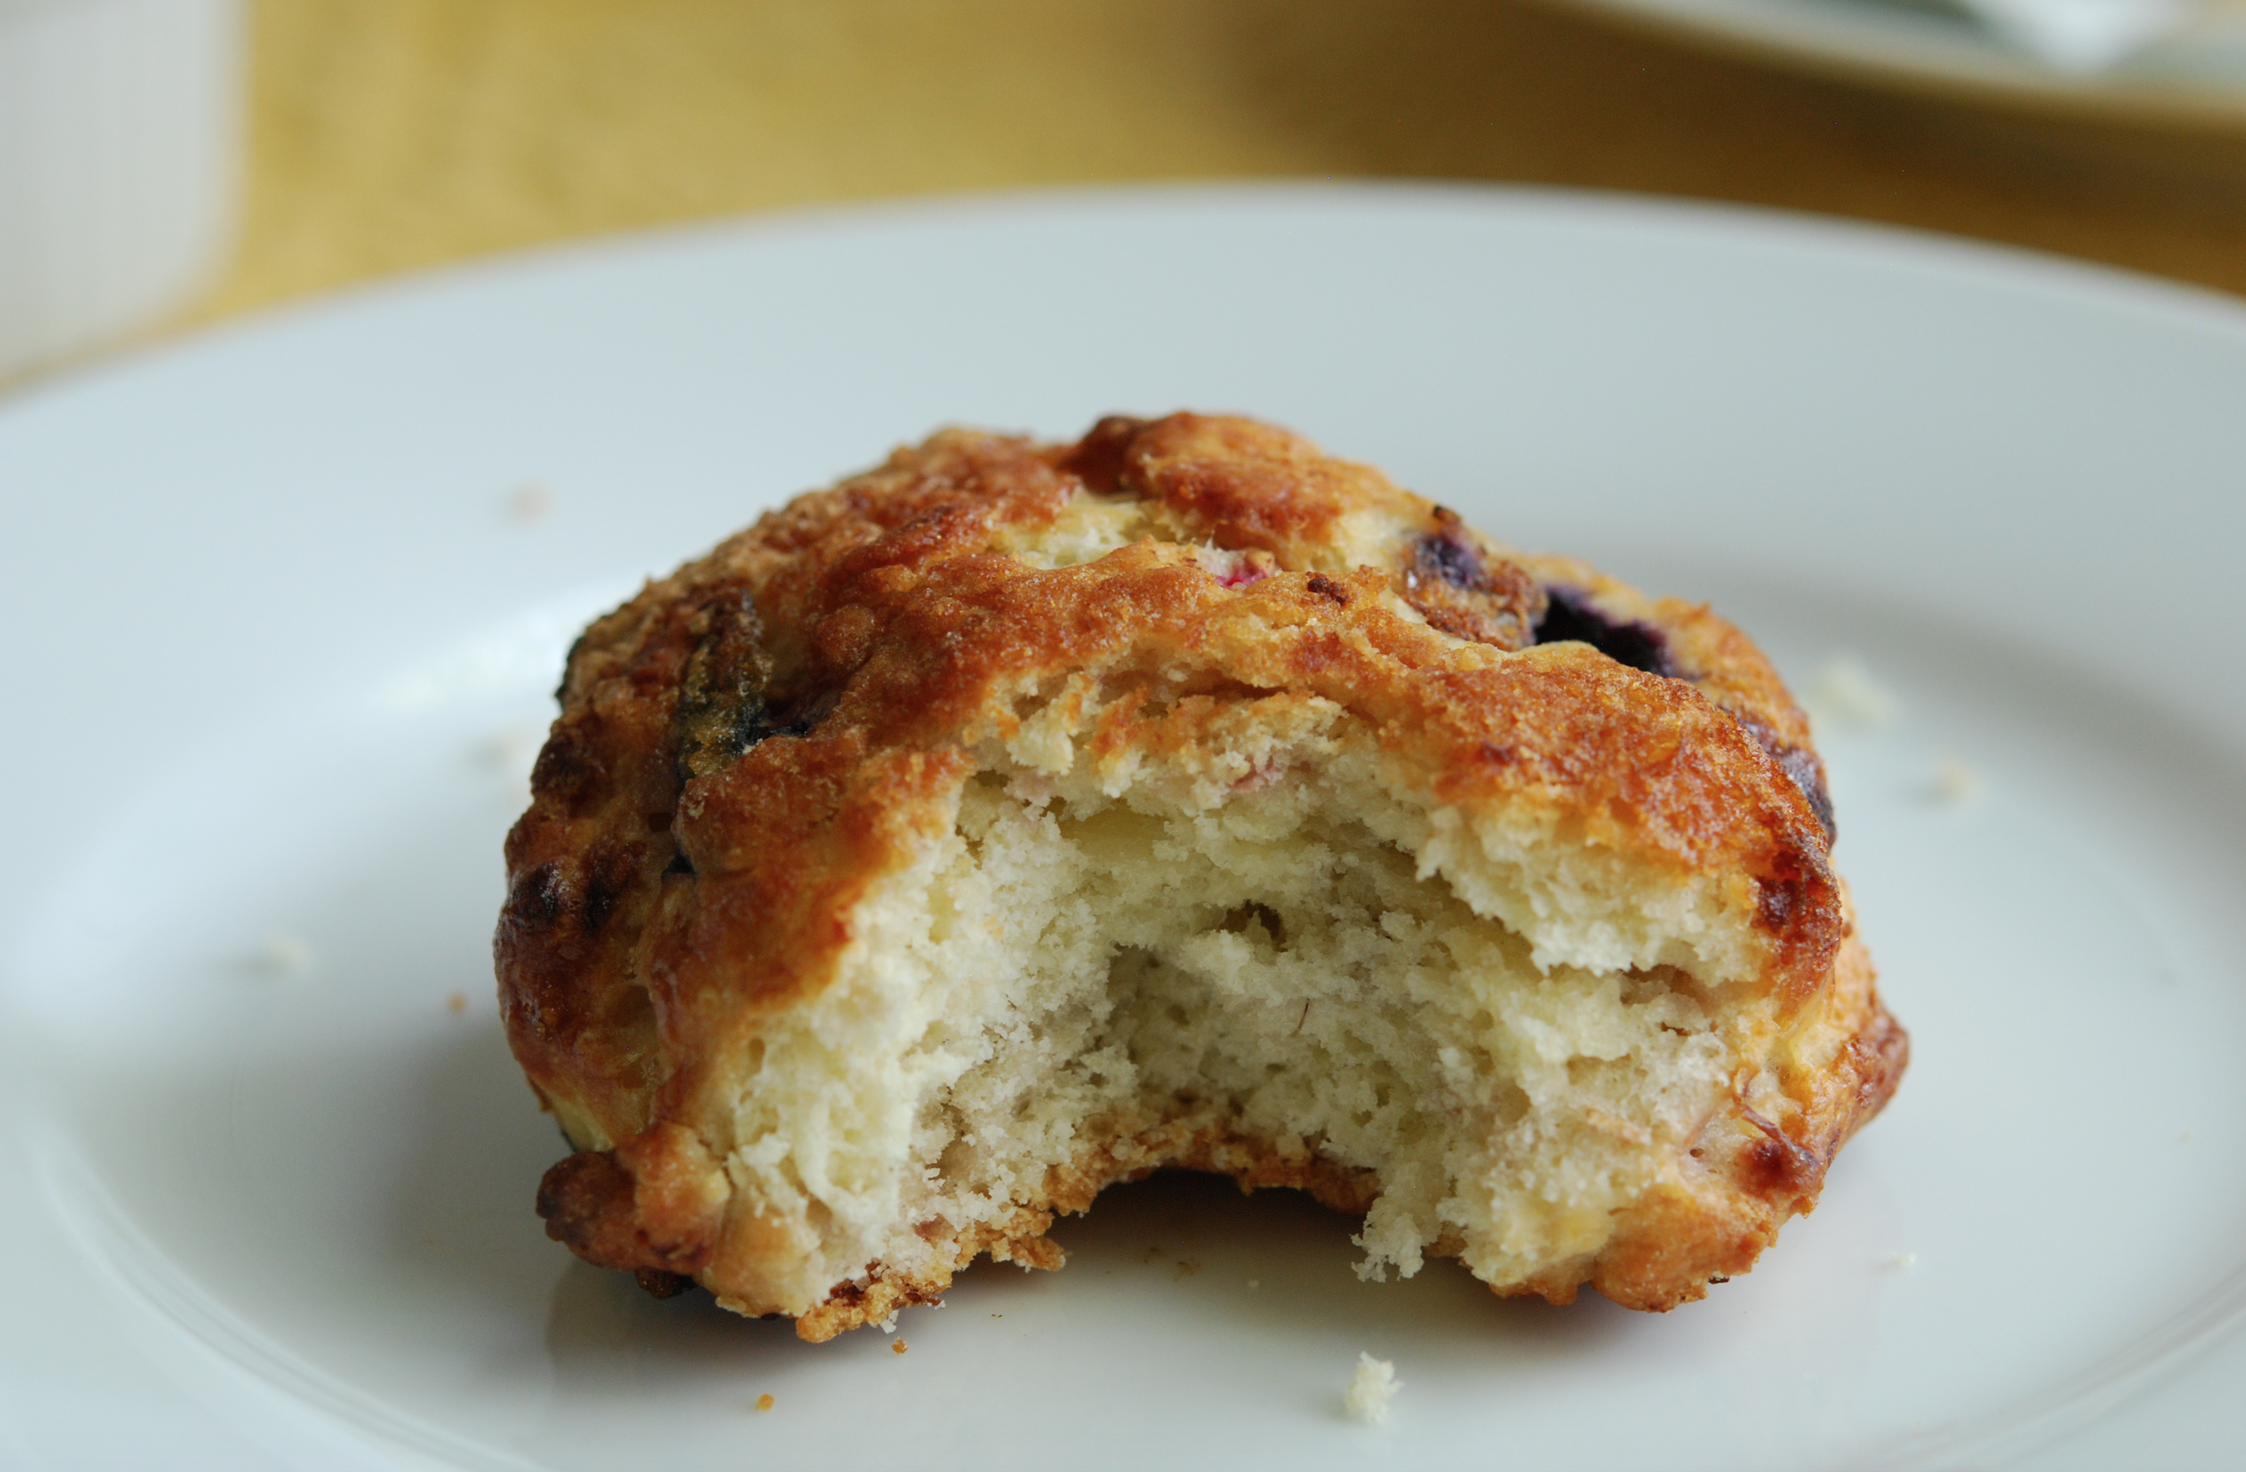
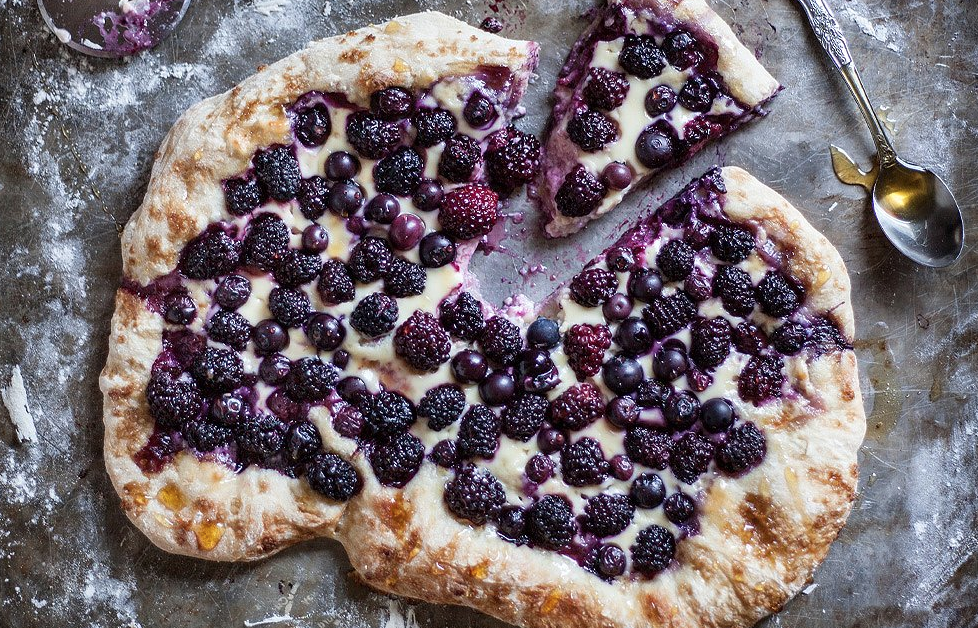
Ok…I have digressed…let me circle back to the beginning…my dad asked me for a scone recipe. Today I am offering him the one below. It is my favourite recipe which makes up the loveliest mixed berry scones. This recipe calls for self-raising flour, milk and chilled butter…in case you’re wondering. It works well if you omit the berries (or substitute them with raisins/currants). And, I suppose, you could change them out for something else…cherries perhaps or lemon rosemary…but why bother? Real Irish scones are simply delicious.

Irish Mixed Berry Scones

Makes about 18-20

Ingredients

For the Scones

900g/2lb/7 1/4 cups self-rising flour

50g/2oz/1/3 cup caster sugar

3 heaped teaspoons baking powder

175g/6oz/12.5 tablespoons butter, chopped & chilled

3 room temperature eggs

450ml/15fl oz/2 cups milk

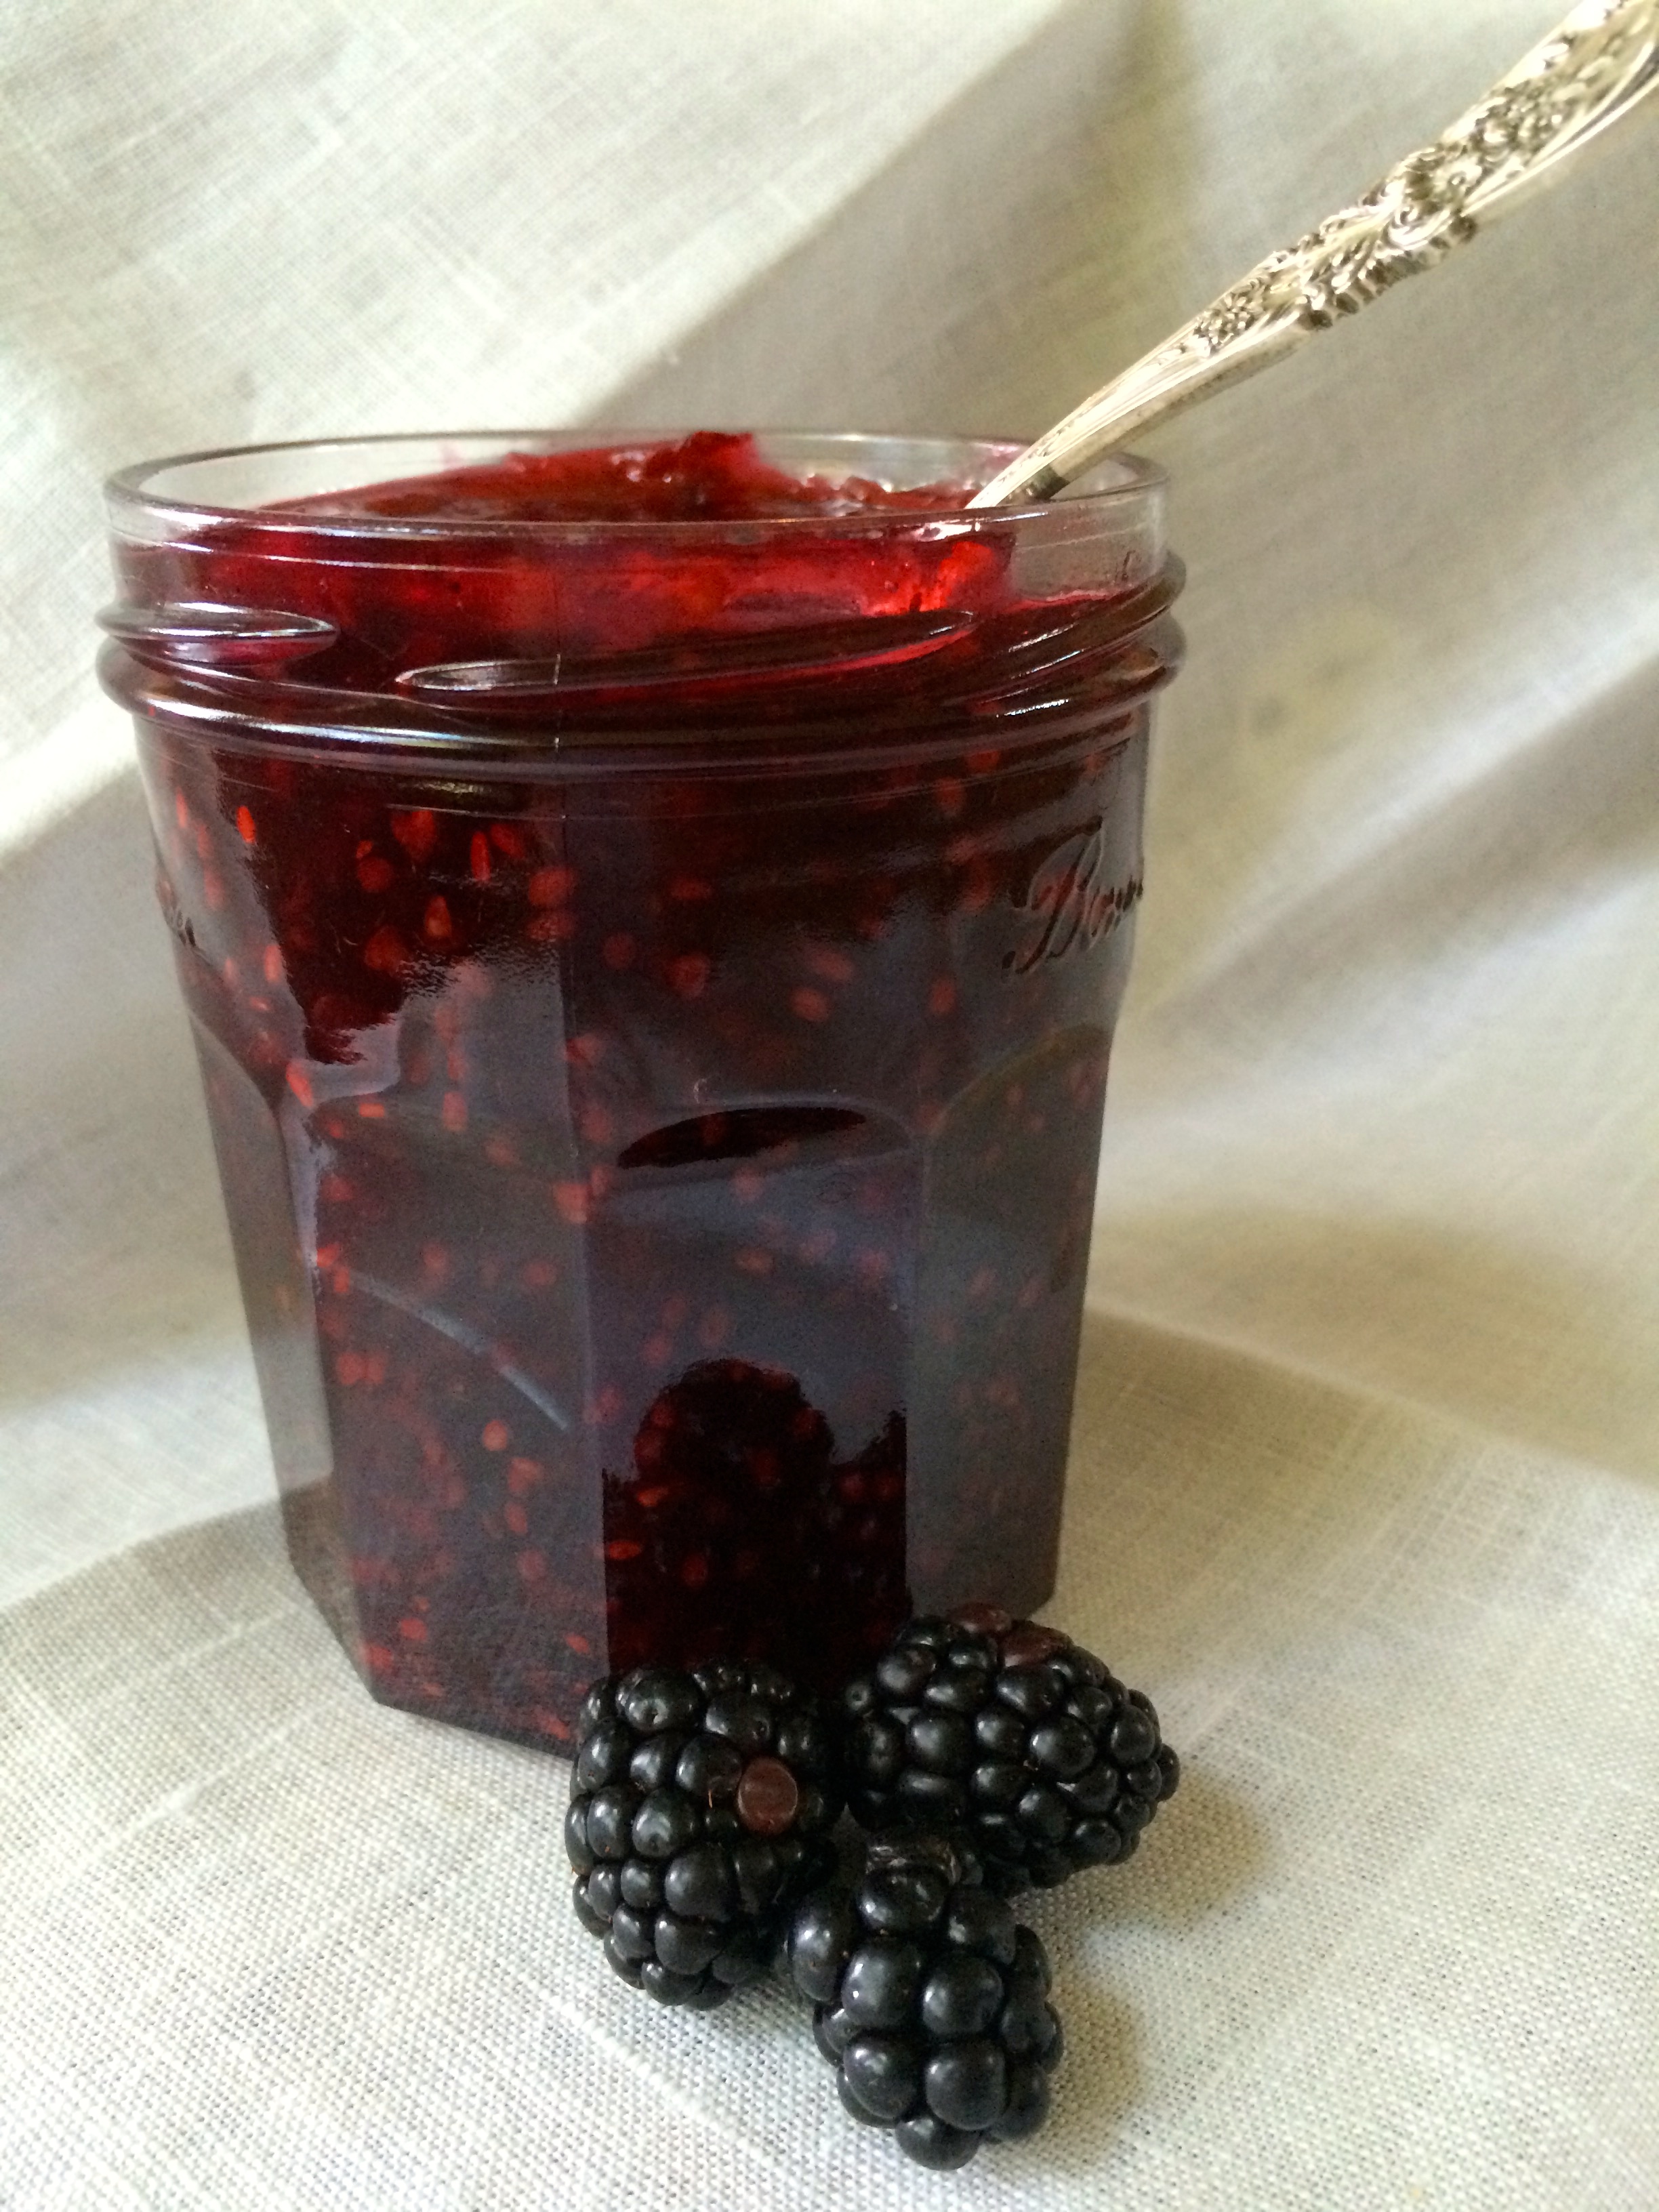
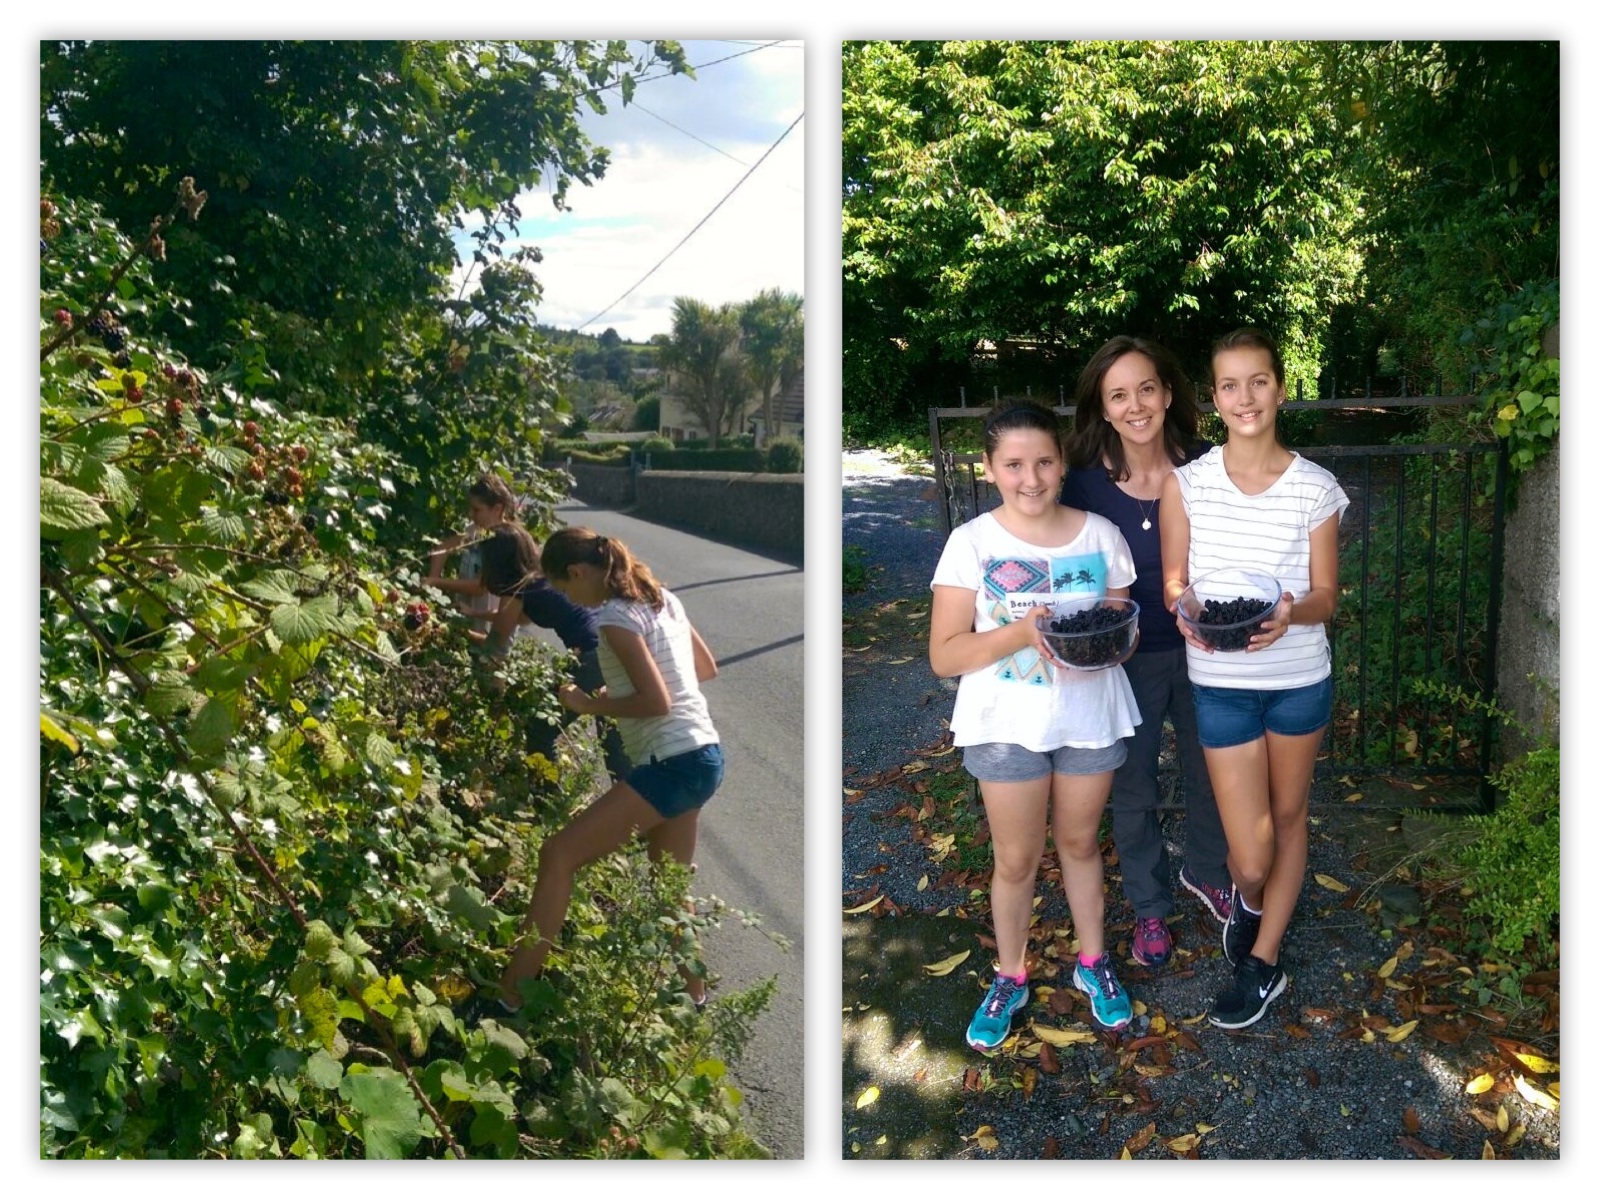
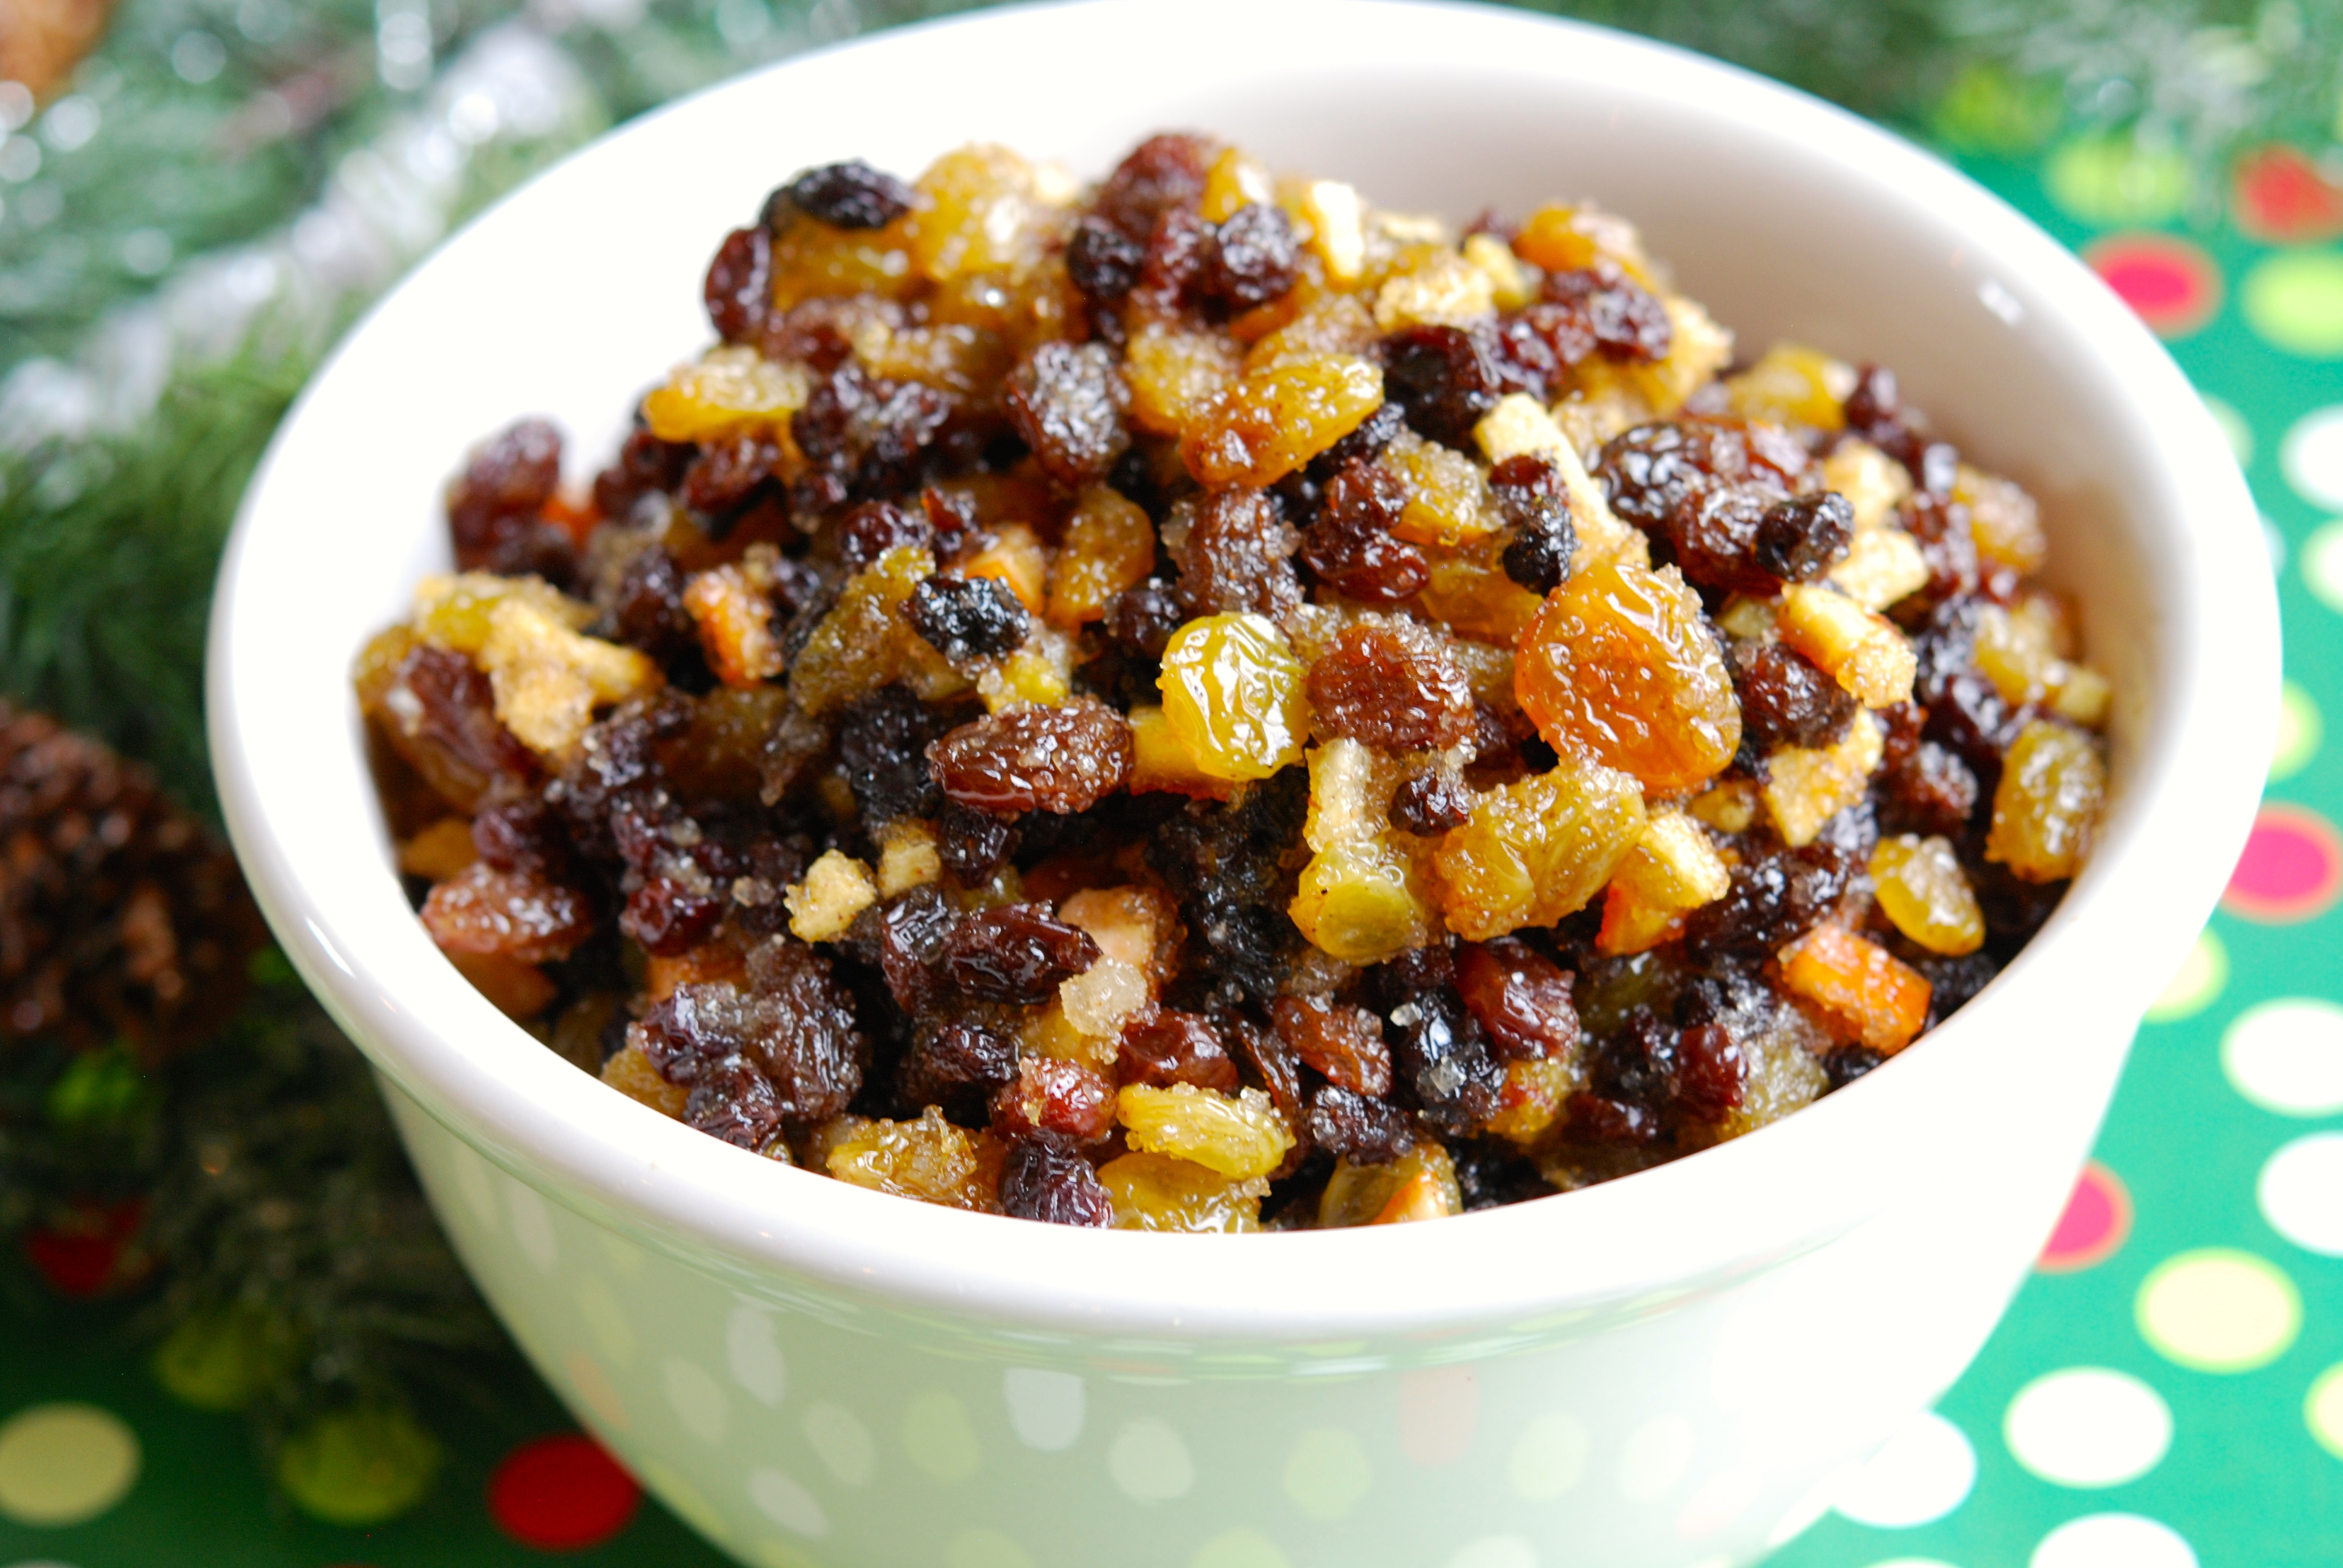
2 handfuls raspberries, 2 handfuls blueberries or 4 oz raisins or currants

For Glaze

1 egg white, whisked with a fork

2 teaspoons water

granulated sugar for sprinkling

Directions

1. Adjust oven rack to the middle of the oven and preheat oven to 230ºC/450ºF.

2. Mix the 1 egg white and 2 teaspoons water together to make an egg wash.

3. Sieve all the dry ingredients together in a large bowl.

4. Whisk the 3 eggs, add to the milk, and set aside.

5. Rub butter into the flour until it’s well incorporated and the mixture resembles bread crumbs.

6. Add the mixed berries (or raisins/currants) and mix lightly.

7. Make a well in the centre of the flour mixture and add the milk and eggs. Mix quickly into a soft dough: do not over mix.

8. Turn dough out onto a floured surface. Knead just enough to shape the dough into a circle about 2cm (1 inch) thick.

9. Using a scone cutter (a tall cookie cutter will do), stamp the dough into round scones. Place scones onto an ungreased baking sheet. Brush tops with the egg wash and sprinkle on some sugar.

10. Bake in the oven for 10-12 minutes or until golden brown on top.

11. Cool on a wire rack.

12. Gather up the remaining dough into another circle and stamp out more round scones until you’ve used up all the dough. Finish as directed above.

Additional Notes, Related Articles & Credits:

* http://bakerette.com/homemade-utah-scones

* Scones do not keep well for more than a day, but for best results place in an airtight container.

* Read Sarah Kate Gillingham’s article over at thekitchn.com about a trip she took to Ireland where she learned, first-hand, how to make Real Irish Scones.

Read Full Post »


IMG_8248Each spring I make strawberry rhubarb compote from the fruit grown in our kitchen garden. Some of it we use straight away, the rest we put into the deep freeze for later in the year (like now).

DSC_0133

Compote, which is really just a stewed fruit, is easy to make and can be served up in many ways. I like to layer it with yogurt and Nadia’s Muesli for my breakfast, but it is equally delicious over ice cream, slathered on Pavlova, whipped into a Fool, mixed into an alcoholic beverage, or stirred into a bowl of hot porridge.

IMG_8242

On its own, rhubarb is quite tart. Sugar makes it more palatable, but pairing it with ripe strawberries means you can use less sugar. I know of people who add honey for sweetness. If you like honey…I say, “Go for it!” The honey might add a nice flavour note. Ginger, cinnamon or mint are other possibilities. As for me…I like it plain and simple…truly old fashioned.

Strawberry Rhubarb Compote

Makes about five cups

Ingredients

450g/4 ½ cups red rhubarb

450g/2 ½ cup strawberries

500ml/2 cups water

125g/ ½ cup sugar

Directions

1. Remove and discard the rhubarb leaves, wash stalks well, and cut into 1″ pieces.

2. Hull the strawberries, wash well, and slice lengthwise (and once again if very large).

3. Put the rhubarb, sugar and water in a nonreactive (stainless steel) saucepan and bring to the boil, stirring constantly until the sugar dissolves and the rhubarb is soft.

4. Reduce to a simmer and add the strawberries and continue to cook until the strawberries are soft, but not mushy.

5. Cool, pour into a clean jar, cover with a lid and keep in the fridge or pour into freezer bags and freeze until needed.


Read Full Post »

This morning, while enjoying a healthy and yummy breakfast of Strawberry Rhubarb Compote layered with organic yogurt and Nadia’s Muesli, I poured over the photographs of Irish clothing designer Peter O’Brien’s latest collection for Arnotts. O’Brien wowed a packed audience with his Autumn/Winter 2015 showcase the night before last…and no wonder…his designs are divine.

Photo Credit: Peter O'Brien Design

Photo Credit: Peter O’Brien Design

His colour palette (mostly black, navy, and cream, with the occasional pop of mustard yellow) is perfect for our Irish weather. His use of flowing fabrics, pleated designs, and silk, velvet and knit fabrics is indicative of a man who knows refined elegance intimately, but still offers it up with a dash of flair.

Photo Credit: Peter O'Brien Design

Photo Credit: Peter O’Brien Design

Culottes are there for those choosing to follow the trend, but so too are the timeless wardrobe staples: military coats, triangular-shaped skirts and dresses, hats that evoke a different era, and boxy blouses with buttons up the back. I am coveting his Sleeveless Dress in Navy for any luncheons that pop up this year and his Pleated Collar Dress with removable white collar for a look that will go from day to night in a snap!

Photo Credit: Peter O'Brien Design

Photo Credit: Peter O’Brien Design

Going back to the hats…his milliner Amanda Byrne of Highbury Design was a big hit at the show. I’d love to wear one of those gorgeous hats, but am probably not that daring.

Photo Credit: Peter O'Brien Design

Photo Credit: Peter O’Brien Design

In total, there are 46 pieces in the Peter O’Brien A/W 2015 collection at Arnotts with prices ranging from €95 to €495.

Additional Notes & Credits:

* The recipe for Strawberry Rhubarb Compote will be posted tomorrow!

* You can learn more about Peter O’Brien here.

* Click here to follow Peter on Twitter.

Read Full Post »

Just received an amazing looking recipe for a Summer Berry Pizza from the website One Kings Lane and thought it a terrific follow-up to the blog post I did earlier this week on Wild Blackberry Jam.

Photo Credit: One Kings Lane

Photo Credit: One Kings Lane

I know summer is over technically…but if you’re picking wild blackberries this weekend…maybe you’ll give this recipe a go?

Let me know if you do…Cheers!

Read Full Post »

Dandelion Pesto

I’m an organic gardener…have been for over 20 years. And in my culinary garden, we never use chemicals.

So, when a plant recently popped up somewhere I didn’t want it to grow…a prodigious plant to boot…I wasn’t very happy.

I am, of course, referring to the tenacious Dandelion.

Dandelions are perennials that grow from a thick, unbranching tap root. We know them well because they produce bright yellow flowers that, after a few days, become fluffy white seed heads. Those lovely looking seed heads, the ones we used to blow into the air when we were kids, produce even more weeds bright yellow flowers. Oh, the blissful ignorance of our youth!

As I stood looking at the lone Dandelion growing amongst a bed of beautiful Lavender, I started thinking about how it might be useful. Then I remembered…Dandelion leaves were for sale in an exclusive grocer in our local village.

A few minutes later, research on the internet provided a plethora of recipes. Clearly one plant wasn’t going to be enough but it was a start. I hopped on my bike, quickly cycled down to the village, bought more greens, and came home to make the recipe I found over at The Kitchn for Dandelion Pumpkin Seed Pesto. David Lebovitz’s Dandelion Pesto recipe was equally interesting, but I wanted to use some leftover pumpkin seeds that were in my larder.

And that was that. On a fine summer evening, I served my family Whole Wheat Linguine Pasta topped with Dandelion Pesto. I didn’t tell them what they were eating until after they devoured their dinner…just in case the main ingredient put them off.

Fortunately, they loved it. What’s more, I enjoyed turning a would-be-weed into a wonderful meal. Hope you find ways to do the same.

Dandelion Pumpkin Seed Pesto 

Makes about 1 cup

Ingredients

130gm/3/4 cup unsalted hulled (green) pumpkin seeds
3 garlic gloves, minced
25gm/1/4 cup freshly grated parmesan
1 bunch dandelion greens (about 2 cups, loosely packed)
1 tablespoon lemon juice
4oz/1/2 cup extra-virgin olive oil
1/2 teaspoon kosher salt
Black pepper, to tasted

Directions

1. Preheat the oven to 180ºC/350°F.

2. Pour the pumpkin seeds onto a shallow-rimmed baking sheet and roast until just fragrant, about 5 minutes. Remove from the oven and allow to cool.

3. Pulse the garlic and pumpkin seeds together in the bowl of a food processor until very finely chopped.

4. Add parmesan cheese, dandelion greens, and lemon juice and process continuously until combined. Stop the processor every now and again to scrape down the sides of the bowl. The pesto will be very thick and difficult to process after awhile — that’s ok.

5. With the blade running, slowly pour in the olive oil and process until the pesto is smooth. Add salt and pepper to taste.


Additional Notes and Credits:

* More about the Biology of Dandelions can be found here and their herbal uses may be found here.

* For some Irish Dandelion folklore see this post for Wildflower Folklore at Wildflowers of Ireland.

* Here’s a Dandelion Flower Fritter recipe from Darina Allen, as well as a radio interview of Darina at NPR.

* I am intrigued by this Dandelion Honey Recipe that appeared in the Irish Examiner for Dandelion Honey…which is more like a marmalade!

* Here’s another interesting recipe to try…Dandelion Colcannon from The New York Times.

* The Daily Spud has gotten in on the act too…with recipes for Dandelion Tea and Dandelion Fritters.

* Canada’s National Post did a wonderful article on Irish cheeses and ended it with several recipes, including this one for Salad of Lambs Lettuce and Dandelion Greens by Nuala Cullen


Read Full Post »

IMG_0061

For weeks I’ve been playing a game of “Watch and Wait” with mother nature. Whether on a walk in the countryside or a drive into town, I have been watching and waiting patiently for the blackberries ripening in the hedgerows near our home to be ready for picking.

Blackberries

While the berries have morphed in colour from green to red to a deep black-purple, I’ve been daydreaming about the many things I might make: scones, jam, cobbler, sorbet, ice cream, flavoured vinegar, even a blackberry whiskey concoction. It seems the list of things to do with blackberries is endless!

Finally, last weekend, I could wait no more. Truth be told…I nearly crashed my car last Thursday for looking at the berries ripening in the summer sun. I invited my friend Susan and her daughter Ellen to join my younger daughter and me for a morning of picking wild blackberries. It may not be true, but I have in my mind that it’s best to pick fruit and vegetables in the morning, when the energy of the earth is surging through a plant. So, with our bowls in hand, we four girls headed down the road to a hedgerow that was bursting with berries. When we’d picked it clean, we spotted more in a nearby field and, with the farmer’s permission, we hopped the gate and picked until our hearts’ were content. (My daughter did keep saying, “Mom we have to leave some for the birds!”)

Blackberries 2

Wild blackberries have been eaten in Ireland since Neolithic times. They come in many forms, possibly even several hundreds of micro species. Some are small and mean-looking, others fat and plump. None resemble the large, mostly tasteless, perfect triangle-shaped berries found in the supermarket. Packed with fibre and antioxidants, blackberries are a rich source of vitamin C and, best of all, when picked at their peak of ripeness, wild Irish blackberries are gorgeously delicious.

In no time at all, we girls were scraped and prickled by the thorny bushes and our fingers were stained red-pink from the sweet berry juice. We didn’t mind, however, as we were happy to have our bowls filled to the brim with nature’s bounty and countless ideas for what to do with them running through our heads.

Picking blackberries is a rite of passage in Ireland and I’m so glad to be able to share in this tradition with my daughters and our friends. I hope you and yours find time to enjoy a blackberry picking expedition of your own this year too!

IMG_9883

Classic Irish Blackberry Jam

Makes 4 x 250ml jars

Ingredients

1kg/2 lbs Sugar
1kg/2 lbs Blackberries
Juice and zest of one lemon

Directions

1. Place a salad plate in your freezer. This will be used to test whether or not your jam is ready later.

2. Place sugar, blackberries and juice and zest of one lemon in a large pot.

3. Bring the mixture to the boil, stirring until all the sugar dissolves.

4. If you like whole berries in your jam, stir occasionally and cook for approximately 15 minutes. If you like your jam with the berries crushed, use a potato masher to crush the berries and continue cooking as previously directed.

5. While the berries are cooking, put clean glass jars and lids into a large pot and cover with water. Bring to the boil, then turn the heat down and simmer the jars and lids to sterilize.

5. When the 15 minutes are up, take the plate out of your freezer and drop a dollop of hot jam onto it. Let the jam cool for a few minutes on the plate and then, with your finger, push a bit of the jam up towards the middle to see if it “crinkles”. If it does, the jam has set and you are ready to bottle it. If not, continue to boil for another 5 minutes, then test again.

6. Remove from the heat and carefully transfer to hot, dry, sterilized jars. Fill them as near to the top as possible. Cover each with a disc of wax paper and seal tightly with a lid. Keep in a cool dark place for up to 12 months.

Notes:

* If the jam doesn’t set after cooling and potting, tip it all back into the pan and boil again, adding the juice of a small lemon.

* If mould develops on the surface of the jam in a jar, remove it with a spoon, along with about half an inch (1 cm) of the jam underneath…rest assured, the rest of the jam will not be affected…and place a waxed disc dipped in brandy on top.

Additional Reading:

Irish Blackberry Ripple Ice Cream over at Irish Food Guide blog.

If you’re musically inclined, visit 8Notes.com to hear The Blackberry Blossom song, an Irish folk song.

The golden rules for picking blackberries can be found here at Good Food Ireland’s website.

For a wee bit of folklore regarding Irish blackberries visit the Irish Cultures & Customs website.

Seamus Heaney, Irish poet, playwright, lecturer, and recipient of the 1995 Nobel Prize in Literature, wrote a poignant poem about blackberries…you can read it here.

It may be called “English’s Fruit Nursery Ltd“, but you can buy blackberry plants from this company in Enniscorthy, Co. Wexford!

Check-out these gorgeous looking Blackberry and Custard Doughnuts over at Donal Skeehan’s website…I may just have to try these and report back!!

Visit here for a video on how to test jam from BBC Good Food.

Read Full Post »

Two moms talk about teen anxiety over a cup of tea and a side of caramels.
Recently my friend Niamh and I spent a few hours catching up over a cuppa and some homemade caramel. As you do, we talked about life: our homes and gardens, the people we know, and our children. It’s when we were talking about our children that Niamh said…

“You know…they need to kill-us-off in order to grow up.” 

And for about an hour we talked about what she meant. She’s no stranger to teens, my friend Niamh. She has three and she is surviving. I, on the other hand, have only one at the moment and, some days, am barely hanging in there.

Don’t get me wrong, we have our moments of greatness. But for the past year-and-a-half, those are becoming “occasions” and not “the norm”. What happened to my sweet girl with the great belly laugh, who used to say, “thank you” and “I love you” and “look what I made for you Mama!”?

I miss that girl.

Sometimes I secretly wonder if she’s been abducted by aliens in the middle of the night and replaced with a girl who looks like ours but is often surly, angry, insensitive, self-centered, and entitled.

In the past year I have thought “is it us?”…have we done something to change her? Are we too controlling? Have we become her bully…always passing judgement on the way she looks, how much time she spends on social media or how she never seems to buckle down and just get her flippin’ homework done at night?

Screen Shot 2015-01-19 at 8.40.44 AMThanks to Niamh, I am starting to look at our teen angst differently: they need to kill-us-off in order to grow up. Clearly we’re not talking about grab the kitchen knife and stab us in the heart kind of “killing”. We’re talking about the “separate themselves from us” kind. Either way, it is slow and painful for us. And, in reality, it’s not fun for them either. In pushing us away…our teens oscillate between wanting their independence from us and wanting to depend on us, which makes for an intensely confusing time.

Case in point…the other day our daughter was complaining about 1) not being able to find her gloves; 2) having to get up at 6am for school; 3) sharing a bathroom with her younger sister; and 4) being forced to eat a hot home-cooked breakfast before going to school…all this grief before 7am. Then, in the car, she says to me, “Mom, I wish I could go back to being young again so I didn’t have so much responsibility.”

I didn’t know whether to laugh or to throw my arms around her and give her a cuddle. She’s up before the sun, faces a tough day at school, plays sport, comes home after dark, and then has at least two to three hours of homework. On the weekend, she’s got more sport and more homework. Thanks to peer pressure and social media…she’s also got to stay up-to-date with Instagram, Tumblr, Snapchat and Vine. My husband and I think she’s relaxing when she’s looking at her computer but, in reality, she’s scanning those pages much the same way we scan The Irish Times, The Sunday Business Post, The New York Times and The Wall Street Journal. It’s fun but it’s also work.

Screen Shot 2015-01-19 at 8.34.37 AMKilling us in order to grow up…that’s what our teens are doing. If we want to keep our teens close in the years ahead, we’re going to have to pick our battles. I don’t mind telling you that I sought out some professional help on this one. My recent visit to a therapist taught me that we need to decide what we want in the long run. Do we want our kids leaving home one day “thankful to be gone” or “looking forward to calling in”? The other piece of advice I was left with is this: let them fail…let them make mistakes. Sounds simple but it bloody well isn’t!

Our daughter goes to a fee paying school and I can tell you that when she chooses to blather away an hour rather than study for an important test…I see red! When she doesn’t turn in a homework assignment or paper she’s completed because she’s forgotten to put it in the right place and she can’t put her hand on it…I feel frustrated by her disorganization!! When she’s roaring and shouting at me because she can’t find something in her room in the morning (because it looks like a nuclear bomb went off)…I want to shout back…”THEN CLEAN YOUR ROOM WHEN YOU GET HOME!!!” None of these reactions are helpful to her or me.

My friend Moe recently said to me…”When my son gets frustrated and starts shouting, I imagine that we’re at the train station, walking along the platform. His destination is Crazy Town and I don’t have to get on the train with him. I can let him climb aboard and wave to him from the safety of the platform.” I like this imagery. Now, when our daughter starts getting puffed up and cross, I try to remember what Moe said…she’s headed to Crazy Town and I don’t have to go.

Screen Shot 2015-01-19 at 9.00.10 AMRaising a teen…be it a son or a daughter…is not easy. I think it’s helpful to realise these years are not easy for them either. In the heat of the moment, let’s remember why they are killing us off (hint: they have to grow up)…and be sure to pick our battles carefully (so what if his/her room is a mess)…and stay focused on what we want our relationships with them in the future to be like (positive and loving)…and let them fail (failure leads to success)…and, finally, remember the phrase “Next stop Crazy Town” (you don’t have to get on board too!). Then and only then will we all survive in one piece. Lastly, be thankful for dear friends who remind us that, though it may kill us, our kids will grow up. Now…where are those caramels?

Vanilla Caramels

Ingredients

225g (8oz) salted butter

225g (8oz) granulated sugar

4 tablespoons treacle or golden syrup (light corn syrup)

1 teaspoon vanilla

400g (14oz) tin of condensed milk

8x12in baking sheet, lined with parchment paper

Directions

1. Line baking sheet with parchment paper and set aside.

2. Melt the butter is a heavy-bottomed saucepan (about 8″ wide) over a medium-low heat.

3. Add the sugar and then add the treacle or golden syrup.

4. Add the vanilla and stir until well mixed.

5. Add the condensed milk and stir constantly until the caramel is a rich golden brown colour. To know if the caramel is done cooking, use a candy thermometer. When the temperature reaches 118ºC/245ºF, you’re done. To confirm, fill a small glass with ice cold water and drop a tiny amount of the hot caramel syrup into the water. Pull the cool caramel from the water and check the consistency. The caramel should be firm but pliable.

6. Carefully pour the hot caramel syrup onto the baking sheet. Using an off-set spatula, quickly spread the caramel syrup to desired thickness. Let cool completely.

7. When caramels are cool, lift them off the baking sheet and onto a cutting board. Cut the caramels into candies with a sharp knife. If the caramels stick to your knife, spray your knife with nonstick cooking spray.

8. Wrap the caramels in wax paper a little longer than the caramels, twisting the ends to close. Caramels will keep at room temperature for about two weeks.

Additional Notes, Related Articles & Credit:

1. 15 Sites and Apps Kids are Heading to Beyond Facebook from Common Sense Media.

2. Teen drama overload article at NPR.org.

3. Irish Whiskey Salted Caramel Recipe at Cheese and Chocolate

4. This New York Times article that came out on October 11, 2017 is brilliant: though, having been in the trenches as long as I have, it could have gone into even more depth. It’s well worth your time to read it, however.

5. Have Smartphones Destroyed a Generation is another recent article, from The Atlantic, that is worth reading. And, this continuing conversation over at NPR.org with the author of The Atlantic article, Jean Twenge, is good too.


Read Full Post »

In our Irish home we believe there’s something magical about receiving a gift at Christmas that has been lovingly made by someone you know. Which is why we make edible handmade treats every year to give close friends, neighbours and teachers.

DSC_0005

These “Naughty & Nice” sweet treats are sure to make our friends smile this year (clearly the Irish Cream Liqueur is for adults only!). The granola recipe, originally posted here at In an Irish Home, was modified slightly: we added several handfuls of dried red cranberries to give it a real Christmassy-look. The Irish Cream Liqueur recipe, passed down by my father-in-law, Dan McGuire, is amazingly good and may be found at the end of this post.

And who doesn’t love an authentic Irish Shortbread Biscuit? With the addition of some gorgeous crystalised ginger, they’re perfect this time of year with a freshly brewed cup of tea. The recipe may be found here.

DSC_0410

Once tasted, I dare anyone to say they don’t love these Irish Mars Bars treats! Not only are they incredibly “moreish”, they are super easy to make. Even better, there’s no baking required. The recipe, posted at In an Irish Home, may be found here.

DSC_0048

Guinness Gingerbread is something we can’t get enough of in our Irish home. The ginger, cinnamon, cloves and nutmeg really smell like Christmas. Wrapped simply in some parchment paper and tied with a festive red bow, this is the perfect Irish edible gift.

DSC_0010

And finally, these Rocky Road Biscuits, which I first shared with you two years ago, are totally delicious and give off a real Christmas vibe if you grate in a bit of orange zest and top with a drizzle of melted white chocolate. They are an Irish childhood favourite and sure to be enjoyed by whomever you make them for.

Now, with less than a week to go before Christmas day, we wish you and your loved ones some very happy times in the kitchen ~ slan abhaile!

Dan McGuire’s Irish Cream Liqueur

Ingredients

14oz condensed milk

14oz evaporated milk

1 1/2 teaspoon coffee essence (or 1 teaspoon instant espresso)

1 teaspoon glycerine

6oz/3/4 cup Irish whiskey

Directions

1. Mix all the above ingredients in a large measuring cup and stir with a small whisk until well blended.

2. Put into clean, sterilised, glass jars, close and store in the fridge.

Related Articles:

Darina Allen’s delicious homemade edible gift ideas here.

Donal Skehan’s blog post on edible Christmas gives may be read here.

This Irish Times article on edible gifts from 2011 is still very useful.

An Edible Ireland blogpost on Chocolate Bark with Almonds & Candied Bacon was reviewed at I Can Has Cook? These are two great Irish food blogs!

Ireland’s Catherine Fulvio, of Ballyknocken House, offers this Almond Liqueur recipe and delicious brownie recipe to her readers this year.

Check out those free, downloadable, gifts tags here and here and here to use with your homemade edible gifts.


Read Full Post »

Mincemeat pies. If there’s anything that says Christmas in our Irish home it is these buttery-rich, sweet, MEAT-less wonders. Yes…it is somewhat confusing…meat is right there in the name…but these lovely treats are absolutely, positively, meat free. I know this because I’ve eaten my fair share! How could I not? Bite-sized deliciousness served on a plate with a dollop of boozy cream…who could resist?

A quick Google search on the history of mincemeat pies shows that they were once, a long time ago, an entirely different dish. Around since the 11th century, mince pies first became popular in British kitchens in the 1700s. Back then there was chopped beef or mutton in them, along with dried fruit and warm spices like cinnamon, nutmeg and cloves. Rich and savoury, they were a main course dish and not an after dinner pudding or tea time treat.

It wasn’t until the 18th century, when “cheap sugar arrived from slave plantations in the West Indies”, that the mince pie we know and love today was created. Sweet trumped meat and now the only animal protein you’ll find in a modern mince pie is beef suet, a raw fat found around the kidneys and joints of a cow or mutton ~ though increasingly even it is being left out by bakers who are sensitive to animal products in their diet.

Irish Mincemeat


In Ireland, mince pies make their appearance in shops, bakeries, and holiday markets in early November. Truth be told, my favourite store-bought pies come from Avoca HandweaversButler’s Pantry and Cavistons in Glasthule, though Lidl, Aldi and Dunnes make nice ones too. Very few of my Irish friends go to the trouble of making them. Even my lovely sister-in-law, Rosie, spends her pre-Christmas time in the kitchen making her family-famous Christmas pudding, rather than making mincemeat pies.

But for those die-hard Christmas types like myself, it’s really a straight-forward, and dare I say “fun”, process. The only two things you really must do to ensure the end result is worth the effort is: 1) make your own candied peel (easy-peasy); and 2) make the mincemeat far enough in advance (two to six weeks is about right) to allow the alcohol, fruit, and sugar mixture to fully mature.

Mincemeat pies are best served out-of-the-oven-warm, with a generous spoon of freshly whipped, and dare I say “whiskey-laced”, cream, but they are also very good at room temperature a day or two later too. On its own, mincemeat is wonderful mixed into vanilla ice cream, may be added to home-baked apple or pear tarts, served over yoghurt, or tossed into a fresh fruit salad. And, finally…if you’re looking to give homemade Irish Christmas gifts this year…a beribboned jar of handmade mincemeat (or candied peel for that matter) would be positively lovely.

Happy Christmas!

Mincemeat

(makes 10 cups)

Ingredients

8oz/300gm/2 cups sultanas

8oz/300gm/2 cups currants

4oz/150gm/1 cups raisins

6oz/200gm/1 1/2 cup candied peel

600gm/3 cups muscavado or dark brown sugar

2 cooking apples (or green apples), peeled, cored and coarsely grated

zest and juice of 2 organic lemons

6oz/3/4 cup of Irish whiskey

1lb/450gm beef (or vegetable) suet*

1 teaspoon of pre-mixed cinnamon, nutmeg and cloves (also known as mixed spice)

a pinch of salt

Directions

1. Combine all the ingredients into a large bowl and mix well.

2. Put the ingredients into sterilised jars, cover and leave two to six weeks to mature, stirring once a week.

3. Use what you need and keep the rest in a cool, dark place for up to a year.

* If you’re making mincemeat to give as gifts to be used on muesli or ice cream, leave out the beef suet.

Ballymaloe Mince Pies 

(Makes 20-24 Mince Pies)

Ingredients

225g (8oz) plain flour

175g (6oz) butter, chilled and cut into cubes

1 dessertspoon icing sugar, sieved

a pinch of salt

a little beaten egg or egg yolk and water to bind

1lb mincemeat (to see Darina’s mincemeat recipe, please see link below)

egg wash

Directions
1. Sieve the flour into a bowl.

2. Toss the butter into the flour and rub it in with your fingertips.

3. Add the icing sugar and a pinch of salt.

4. Mix with a fork as you gradually add in the beaten egg (do this bit by bit because you may not need all of the egg), then use your hand to bring the pastry together into a ball. It should not be wet or sticky.

5. Wrap in cling film and refrigerate for 1 hour.

6. Preheat the oven to 180c/350f/gas mark 4

7. Roll out the pastry until it’s quite thin – about 3mm (1/8 inch) Stamp into rounds 7.5 (3 inch) in diameter and line shallow bun tins with the discs.

8. Put a good teaspoonful of mincemeat into each tin, dampen the edges with water and put another round on top.

9. Brush with egg wash and decorate with pastry leaves or stars.

10. Bake the pies in the preheated oven for 20 minutes approx.

11. Allow them to cool slightly, then dredge with icing or caster sugar. Serve with Irish whiskey cream (or brandy butter.)


Notes, Related Articles & Credits:

A fun article about six Northern Irish brothers who make 20,000 mincemeat pies a day at this time of year.

Here’s a brief history of mincemeat pies.

Looking for some other Irish Christmas fun facts? Check out this blog post.

Irish Central always views Ireland from a slightly more cynical/humorous lens, but I like it. Check out their Christmas post for 2014 here.

In 2004, Darina Allen posted recipes for a nostalgic Irish Christmas meal. You can find it here but, be warned, it’s not for the faint of heart. The list of dishes is incredibly long.

The beautiful photo at the start of this posting is from Getty Images. It was taken by David Cordner. I would have used my own photo, except I haven’t made my mince pies yet because the mince is still marinating and Mr. Cordner’s photograph is incredibly beautiful!

Read Full Post »

Embed from Getty Images

October is a beautiful time in Ireland. The weather is crisp and cool, leaves are turning and falling, fires are seriously stoked in the evenings, and the scent of cinnamon, nutmeg and mixed spice fills the air. It is all so wonderful. As the month comes to an end, there is a growing excitement for Halloween night to arrive. In our Irish home the children have already selected their costumes and started to make plans.

Our youngest will be out trick-or-treating in the neighbourhood with a group of friends, while our eldest, who feels she is too old to dress up and go begging for candy, will be at home with her cohorts celebrating with a real old-fashioned Irish Halloween party.

In keeping with the customs of long ago, there will be a bonfire, fireworks, bobbing for apples, bowls of nuts and fruits, Colcannon (a dish of mashed potatoes, kale and onions), and a Bram Brack, a fruit filled bread traditionally eaten on and around Halloween.

Irish Barm BrackThe Bram Brack will have small items, wrapped in greaseproof paper (parchment paper), baked inside as a means for fortune-telling. A ring will symbolise love or marriage, a coin for wealth, a soup-pea for poverty, and a thimble for a life of spinsterhood or bachelorhood.

Interestingly, the recipe I’m using comes from Young Housewife’s Cookery Book by Brigid Russell. Published in 1928, the book was written for housewives “untrained in cookery skills”…in other words…the self-taught home-chef like me!

In preparation for this blog post and the party, I baked a loaf of Barm Brack over the weekend. It turned out really well, though I felt the recipe lacked complexity. I will add cinnamon, nutmeg and mixed spice when making it again. If you’re not a fan of those autumn spices, you could, of course, leave them out.

Barm Brack keeps nicely for about three days, after which it tends to get a little stale. When this happens, don’t toss it in the bin. Instead, toast it and serve it buttered with a hot cup of tea.

From our Irish home to yours, I wish you and your little ghosts and goblins a Happy Halloween.

Barm Brack

Makes One Loaf

Ingredients

2lbs flour

1/4 lb butter

1/4 lb currants

1/4 lb castor sugar

1/2 lb sultanas

1 egg

1oz yeast

2oz peel (candied)

Tepid milk

Directions

1. Heat the flour. (I placed mine in a large mixing bowl and popped it into a warm oven for about 15 minutes.)

2. Break the butter into the flour and add the sugar. (I cut the butter into small pieces and worked it into the flour with my hands until the flour resembled coarse bread crumbs.)

3. Put the yeast into the flour, and, with beaten egg and sufficient tepid milk, make the whole into a loose dough. (I sprinkled the yeast over the sugared flour, whisked the egg with a fork in a small bowl with one cup of room temperature milk. I added more milk straight from the carton into the bowl as needed.)

4. Knead for 8 to 10 minutes; put to rise in a warm place for 2 hours. (The dough was very stiff, but somewhat elastic…vague, I know, but that’s the only way to describe it.)

5. Add the prepared fruit and the finely-chopped peel and knead again for 8 minutes. (I did not add peel to my loaf, but I did add an extra 2 ounces of raisins. Here is where I would suggest adding 1/2 teaspoon ground cinnamon, 1/2 teaspoon nutmeg, and 1/2 teaspoon mixed spice.)

6. Place in a greased cake-tin, and again put to rise in a warm place for about 20 minutes. (I lightly buttered a loaf tin and I left the Barm Brack to rise for 30 minutes.)

7. Bake in a hot oven for about 1 hour. (I baked mine in an oven preheated to 180°C/350°F. When the top started to burn, I covered it with a piece of greaseproof paper to protect.)

8. When done, the loaf should be glazed by brushing over with a solution made from equal parts of sugar and boiling water. (I omitted this last step.)

Related Articles:

My Quick Irish Barm Brack Recipe is super easy to make.

A recipe for Irish Tea Brack, a similar but easier version of Barm Brac, may be found here.

An article from the Archeological Institute of America on the history of Halloween’s Celtic Roots may be read here.

A history lesson of Ireland’s Halloween customs may be found here.

Haunted houses in Ireland here.

Irish Halloween traditions here.

Read Full Post »

« Newer Posts - Older Posts »